Tutorial
Since version 0.9.0
On this page you can find a short tutorial with an example scripting scenario to let you get started with Shelly scripts. Follow the steps to create your first script about idle alerts. The resulting script Script will monitor the inputs of a Shelly and if there was no user interaction with the input(s), it will call an URL with a predefined message.
More information about the scripting language can be found here. To know more about the Shelly's scripting API, click here.
Step 1: Create an empty script
Create a script named my_idle_alert_script. You can do this in the web interface of your device:
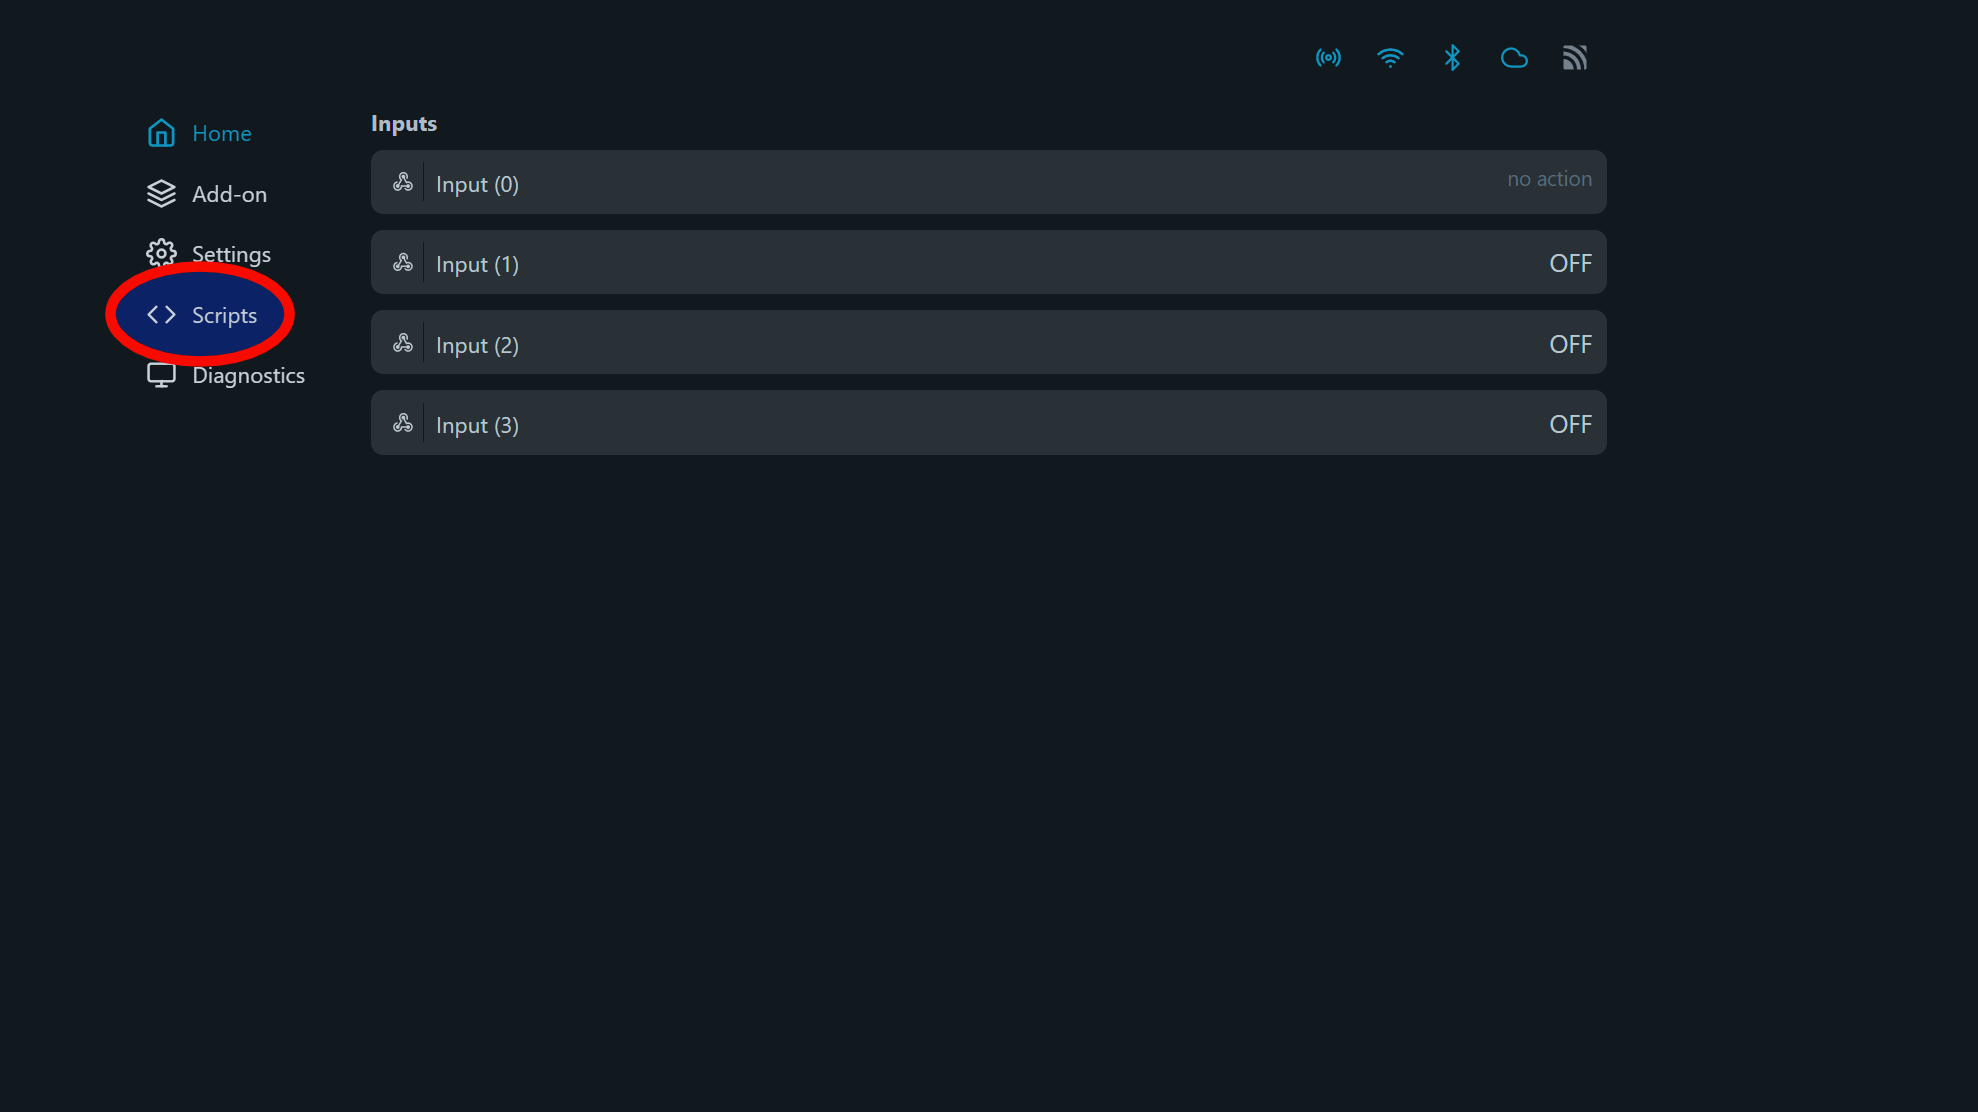
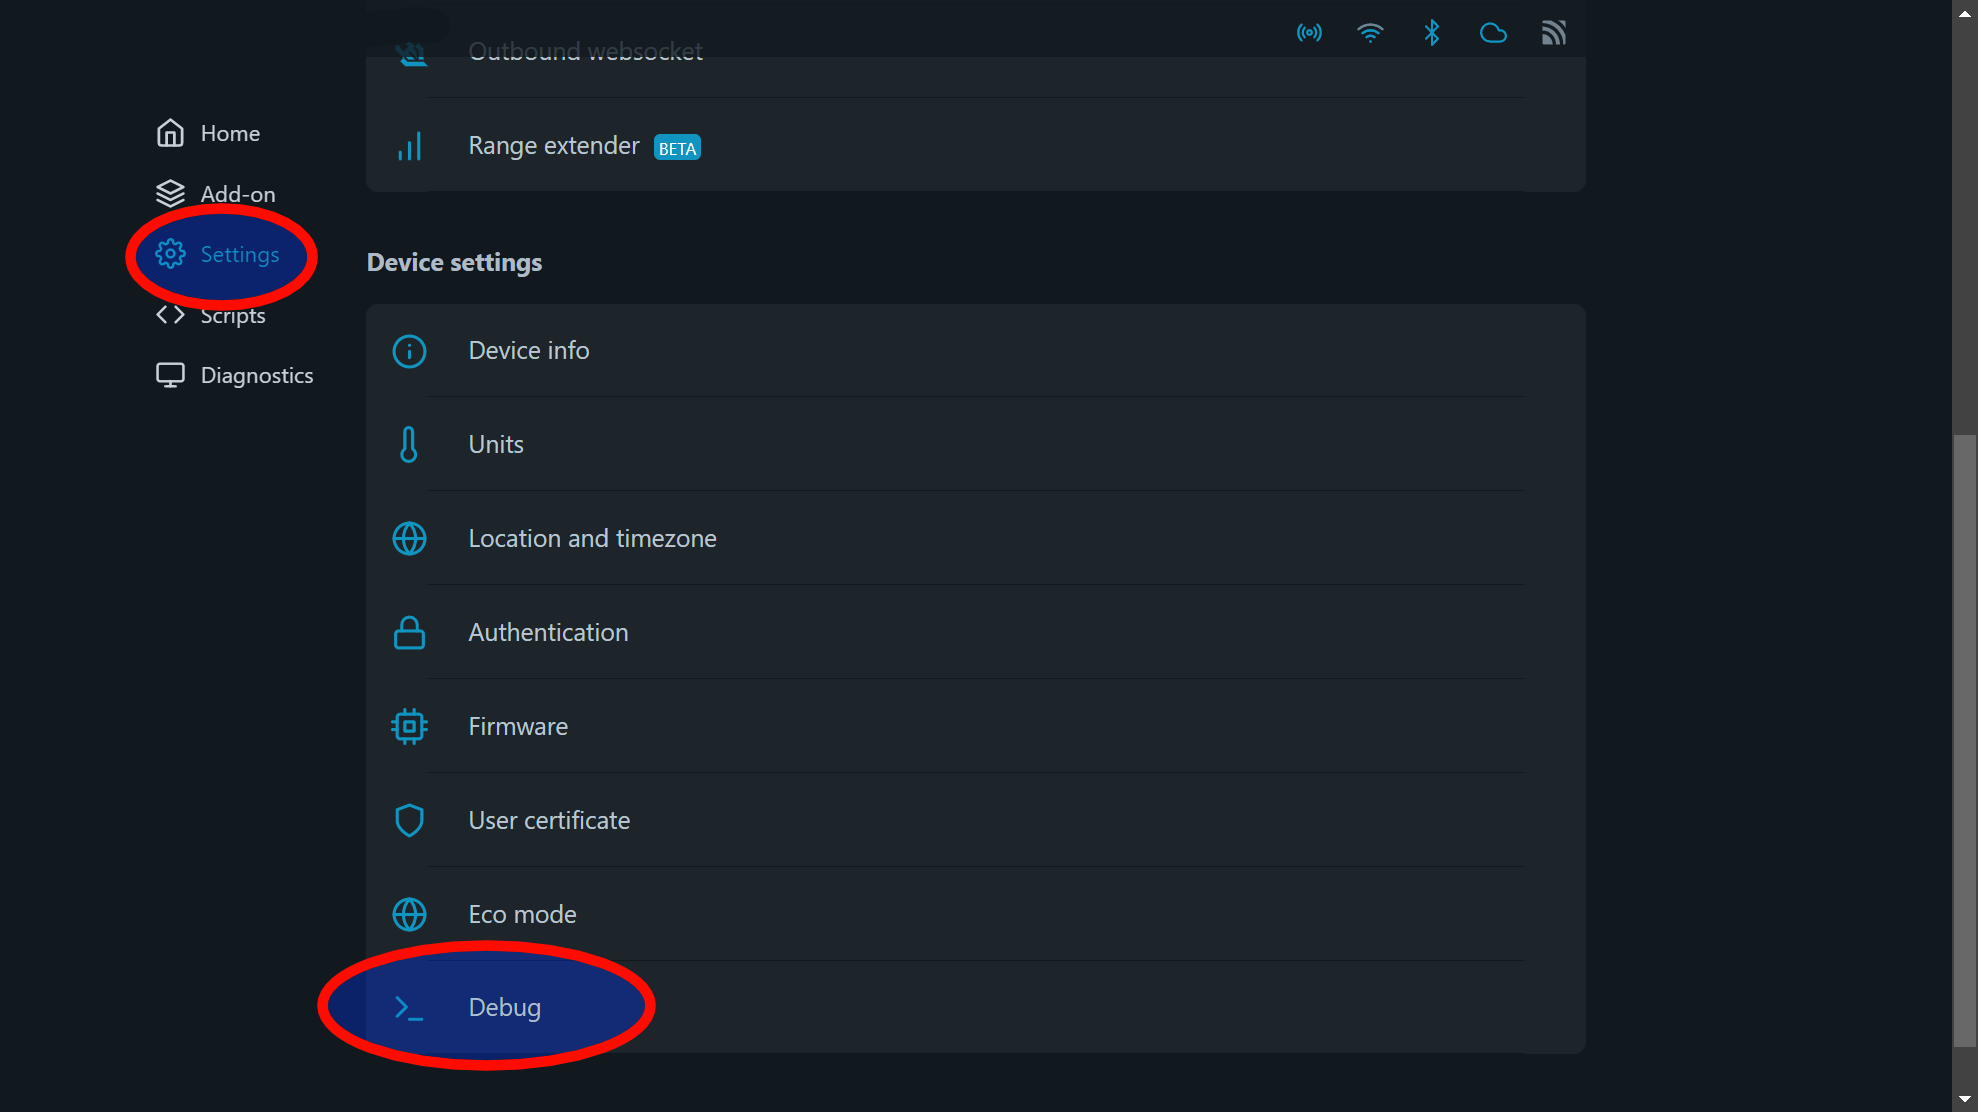
- Open the web interface and choose the Scripts menu:
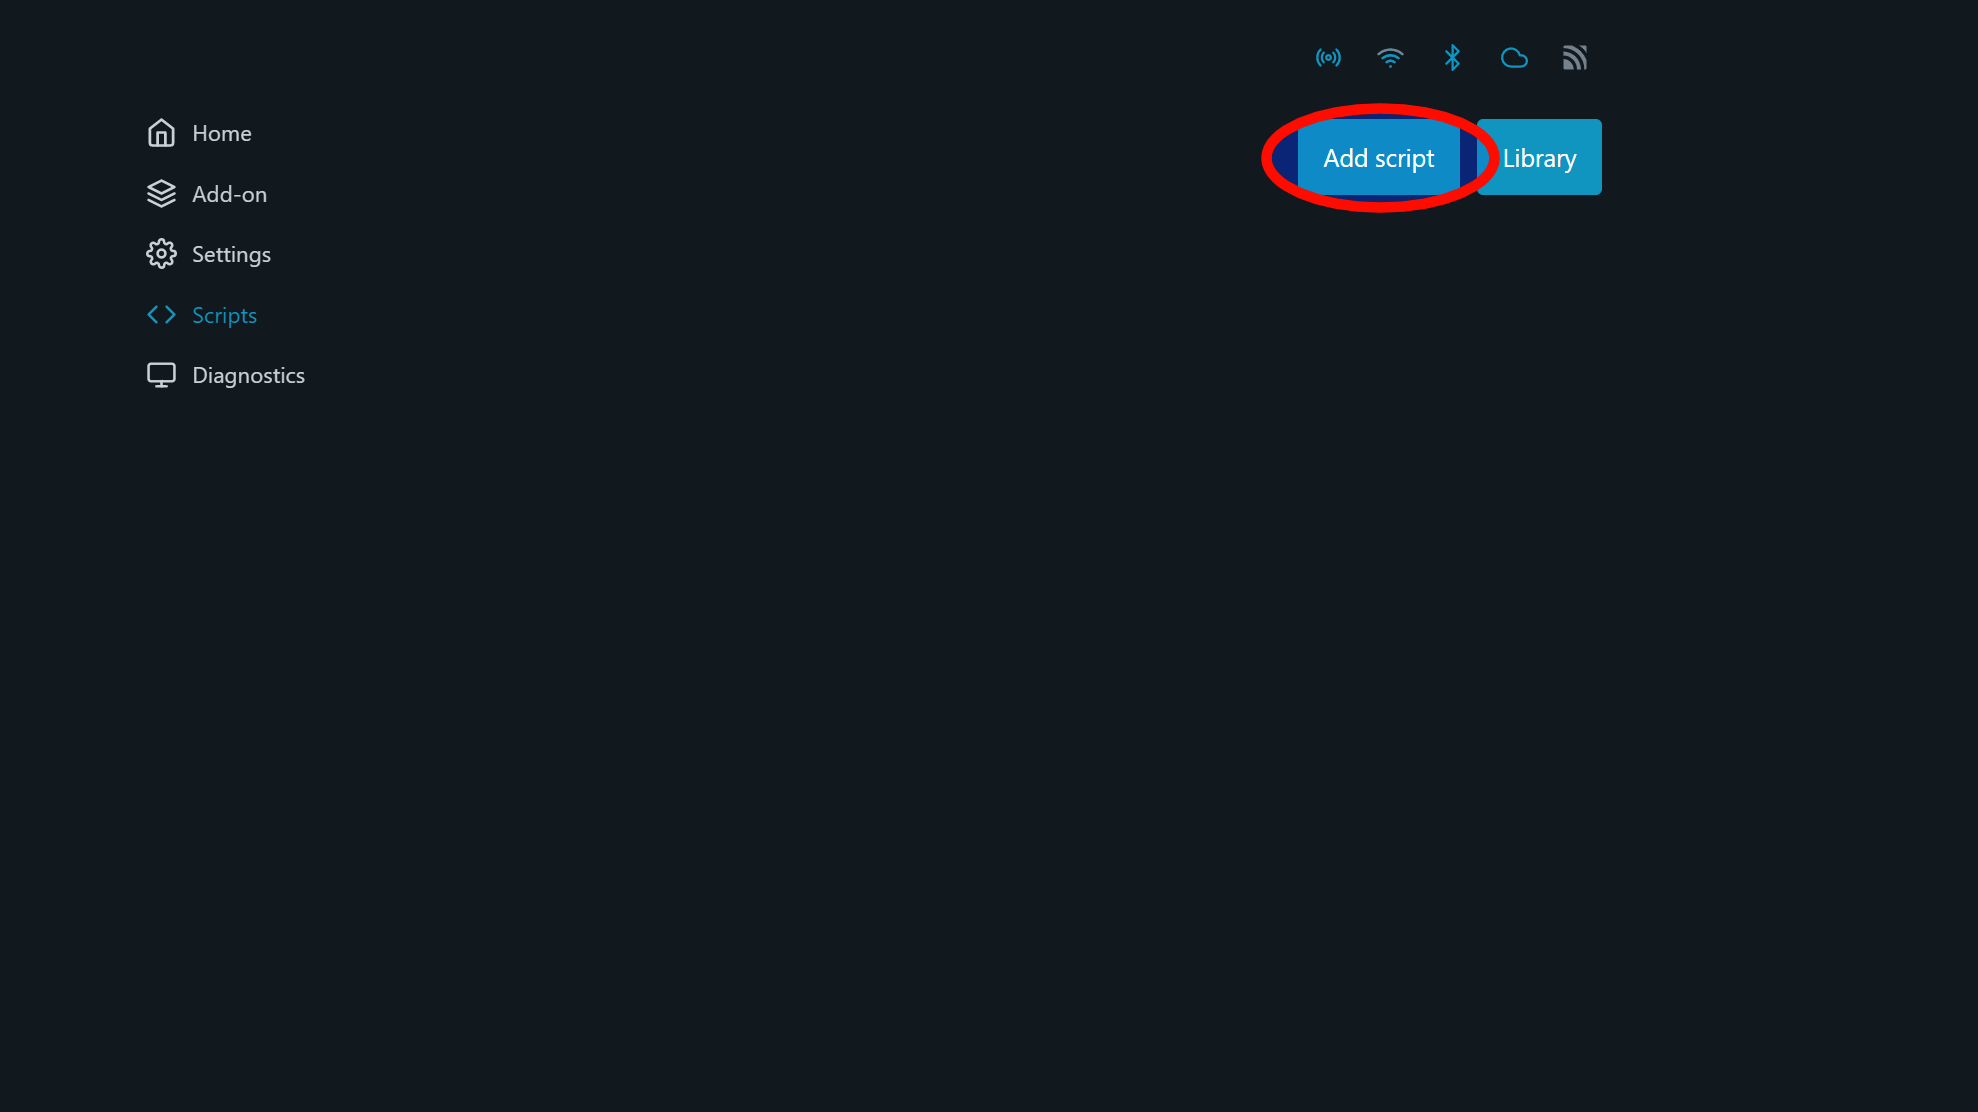
- Click Add script
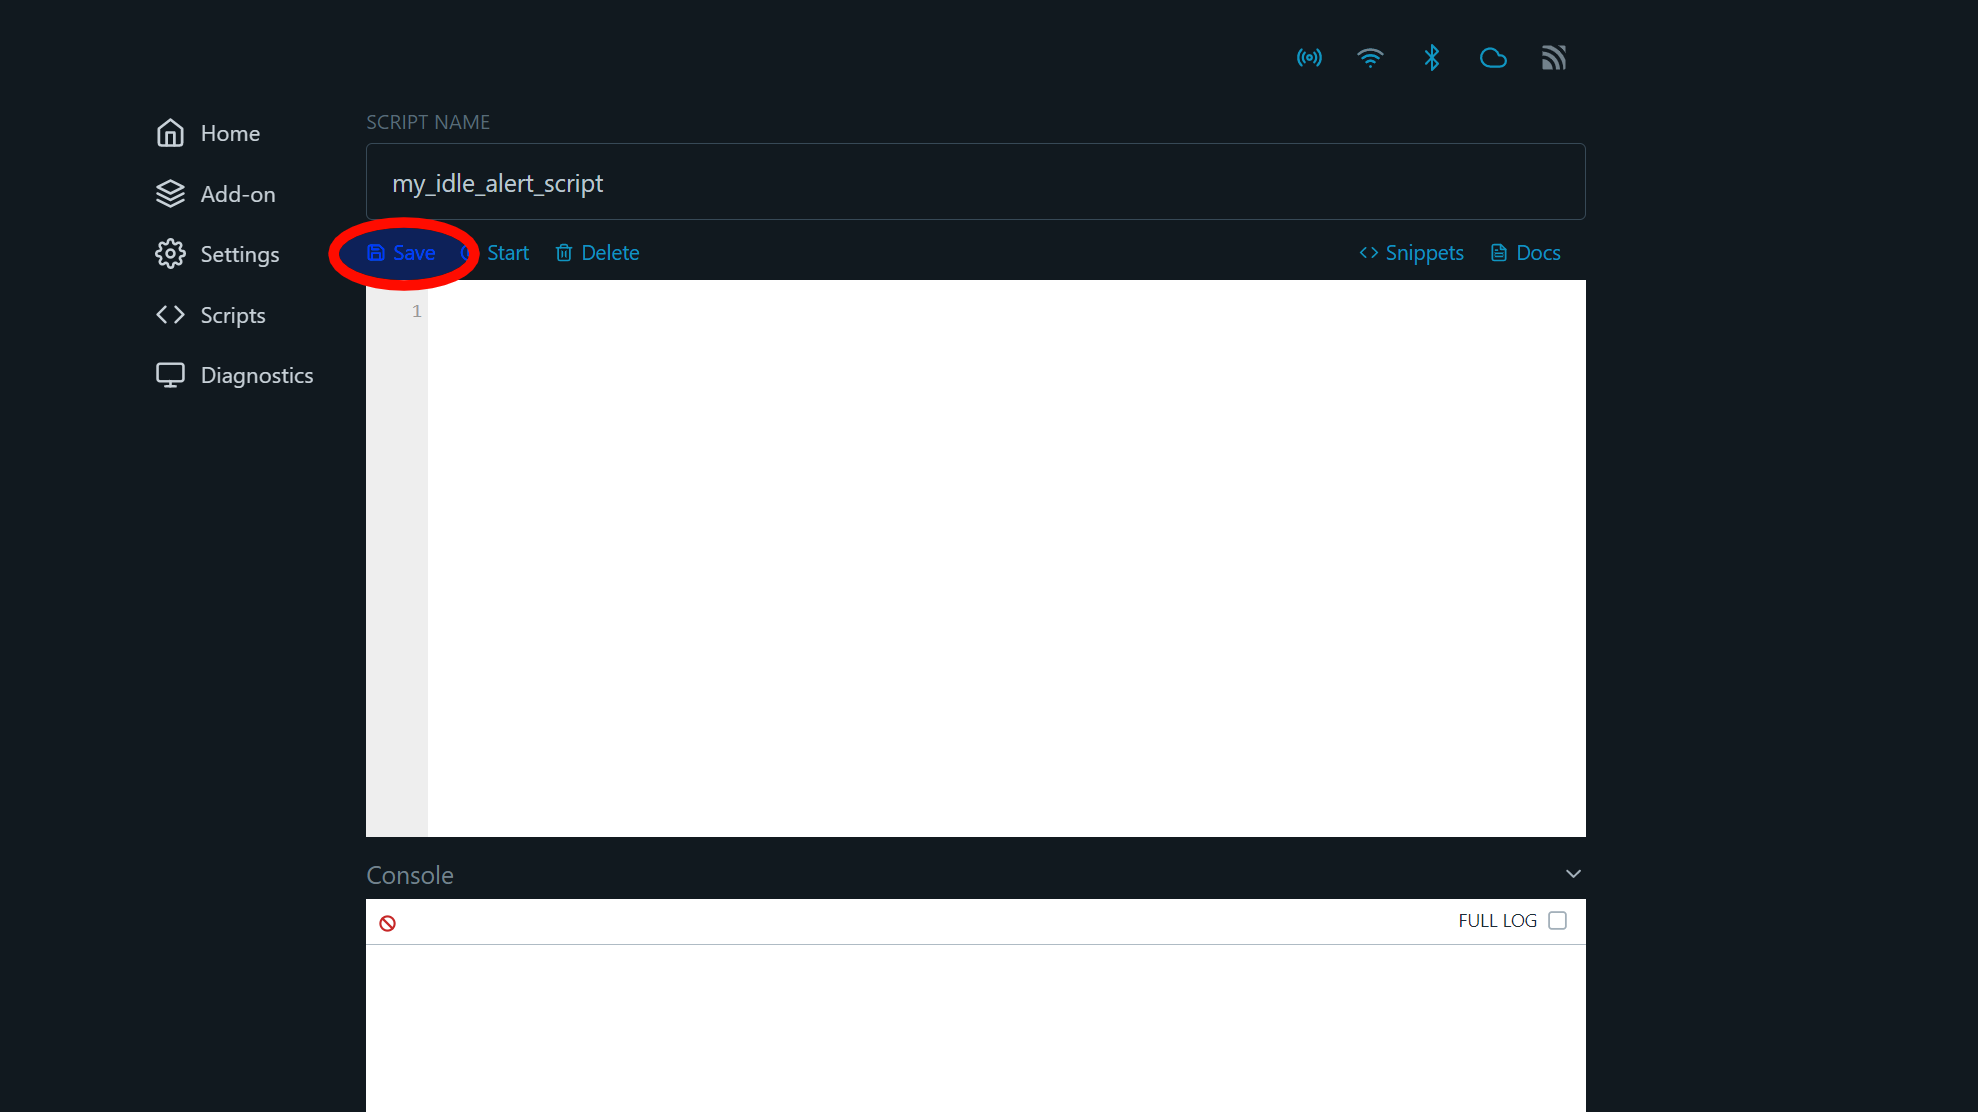
- Type my_idle_alert_script and click Save
Alternatively, you can use the RPC method:
curl -X POST -d '{"id":1, "method":"Script.Create",
 "params":{"name":"my_idle_alert_script"}}' http://${SHELLY}/rpc
The result from this method will be some id, let's say id=3.
Step 2: Enable debug over websocket
To be able to easily receive results from the scripts we create and to debug them, we will enable debug logs (for example, over websocket) first.
Again, this could be done easily through the web interface:
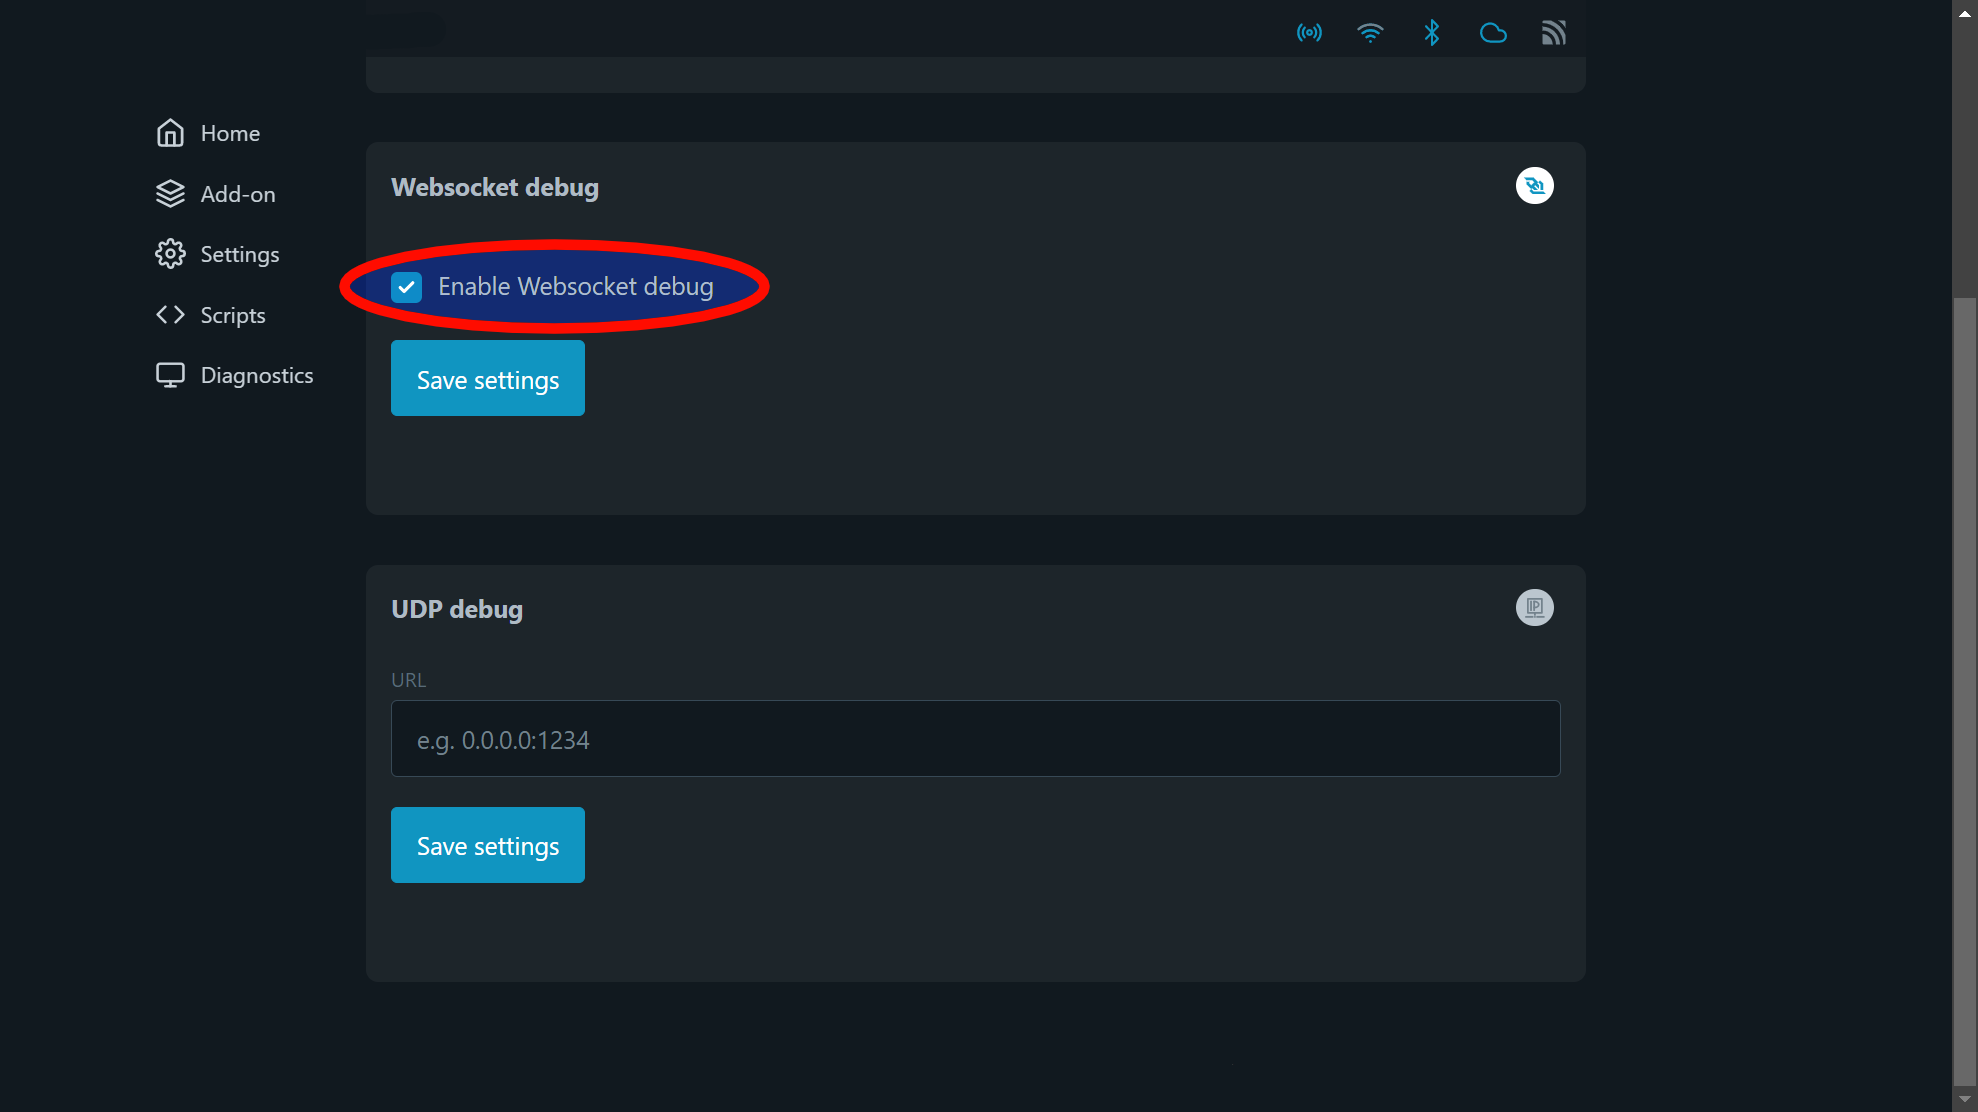
Then we will return to the page of the script that we just created and we will receive logs there.
Otherwise, as described here and here we can use an RPC method to do this:
export SHELLY=10.33.55.152 # IP of your device
curl -X POST -d '{"id":1, "method":"Sys.SetConfig",
 "params":{"config":{"debug":{"websocket":{"enable":true}}}}}' http://${SHELLY}/rpc
In this case, we will start receiving logs by executing the following command:
wscat --connect ws://${SHELLY}/debug/log
Step 3: A simple script
To start creating scripts, let's create some code that prints "Hello world!":
let greeting = "Hello world!";
print(greeting);
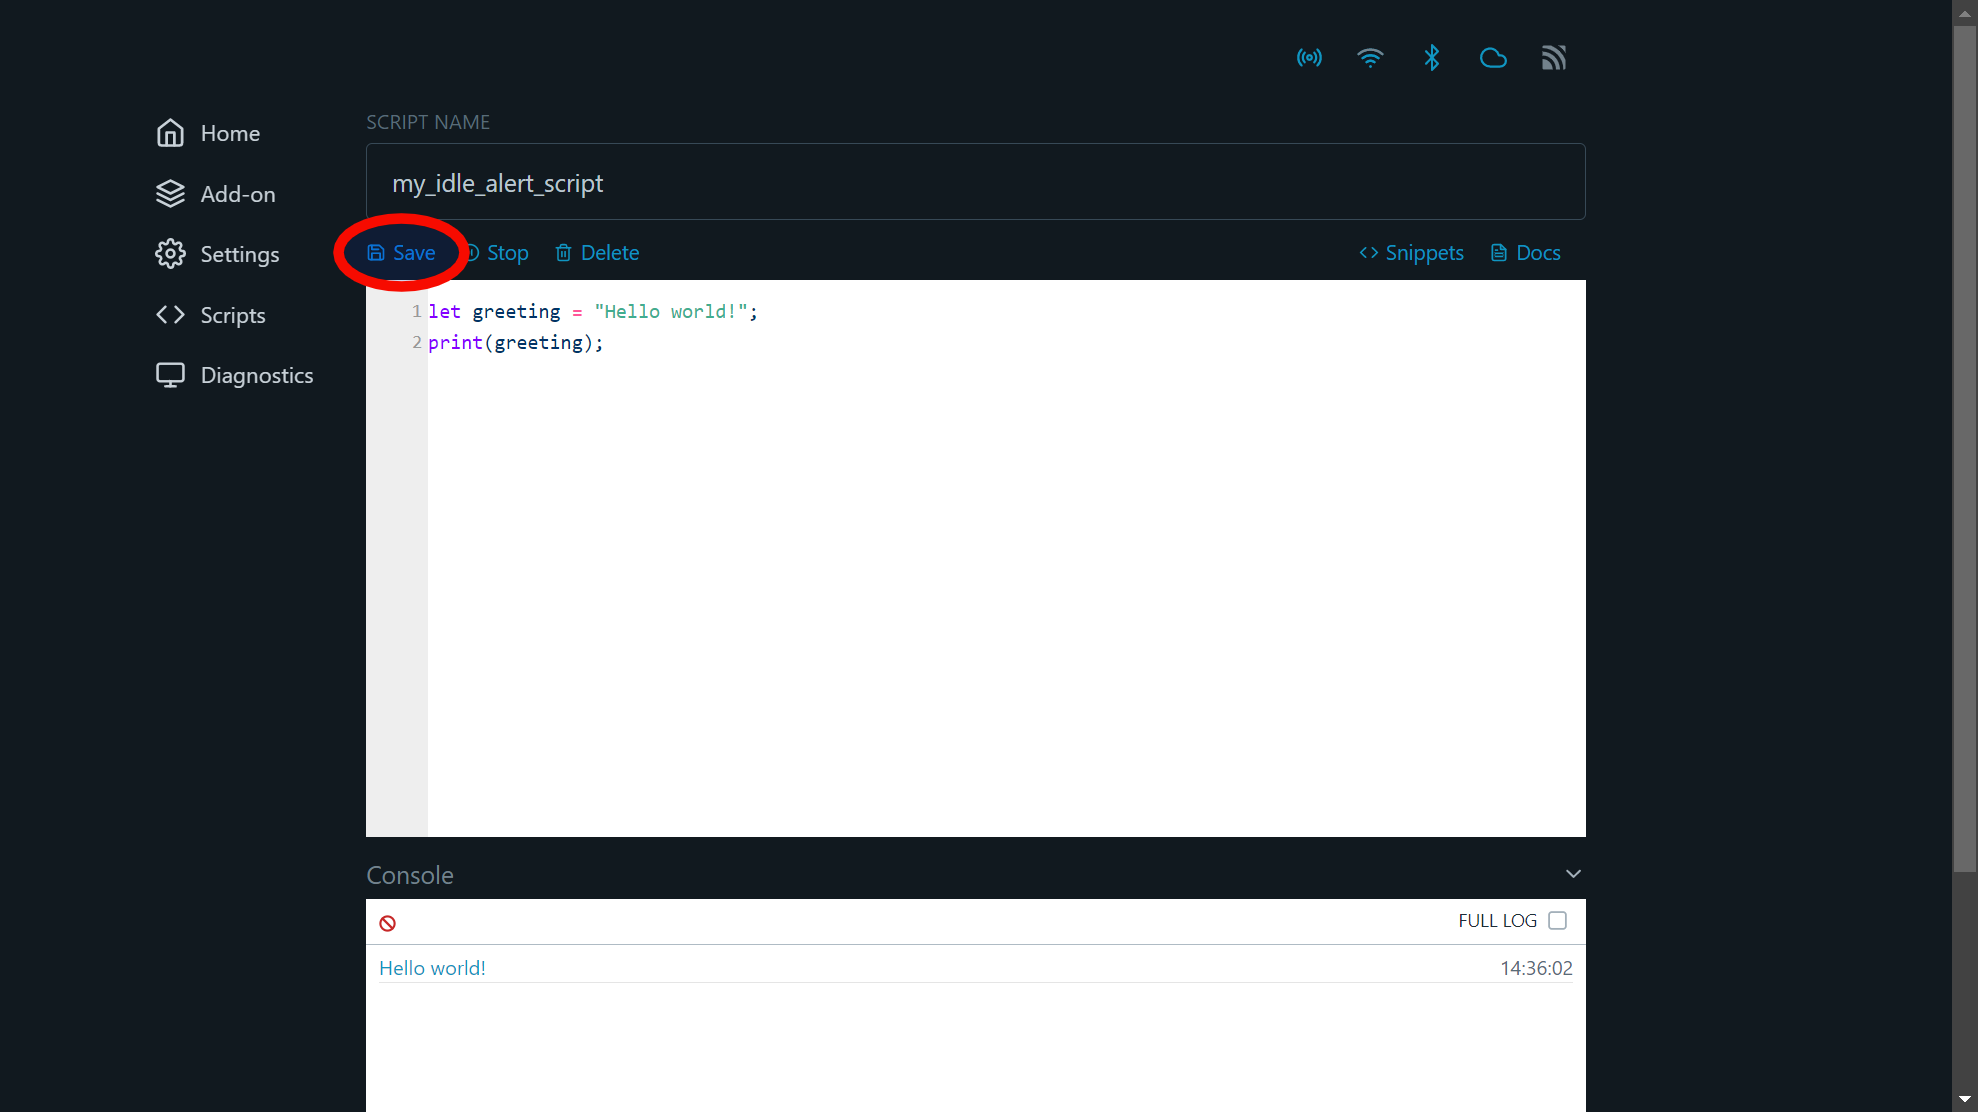
To upload this code to the script we just created, just paste the code in the script's page in the web interface and click Save.
Alternatively, we can create the code in a file, let's say hello_world.txt and upload it in one step, using the script put_script. This script takes three parameters:
- the IP of the device on which we will upload the script (already set as value of the env variable SHELLY)
- the id of the script object, where we will upload the code (in our case id=3)
- the name of the file containing the code itself
put_script.py ${SHELLY} 3 "hello_world.txt"
Again, you can also upload this code (chunk by chunk) to the script through the RCP request:
curl -X POST -d '{"id":1, "method":"Script.PutCode",
 "params":{"id":3,"code":"let greeting = \"Hello world!\";", "append": false}}'\
 http://${SHELLY}/rpc
curl -X POST -d '{"id":1, "method":"Script.PutCode",
 "params":{"id":3,"code":"print(greeting);", "append": true}}' http://${SHELLY}/rpc
Note that in this case, when the code is long, it has to be uploaded chunk by chunk. In the example, it is uploaded line by line, but you may divide it differently across the invocations of Script.PutCode.
Another thing to note is that, as our first invocation of Script.PutCode contained the parameter "append":false, all of code uploaded previously in this Script object will be automatically removed and the content of the script will be replaced with the new code.
Step 4: Run your script
Finally, we have the code uploaded and we can run our first Shelly script (the one with id=3).
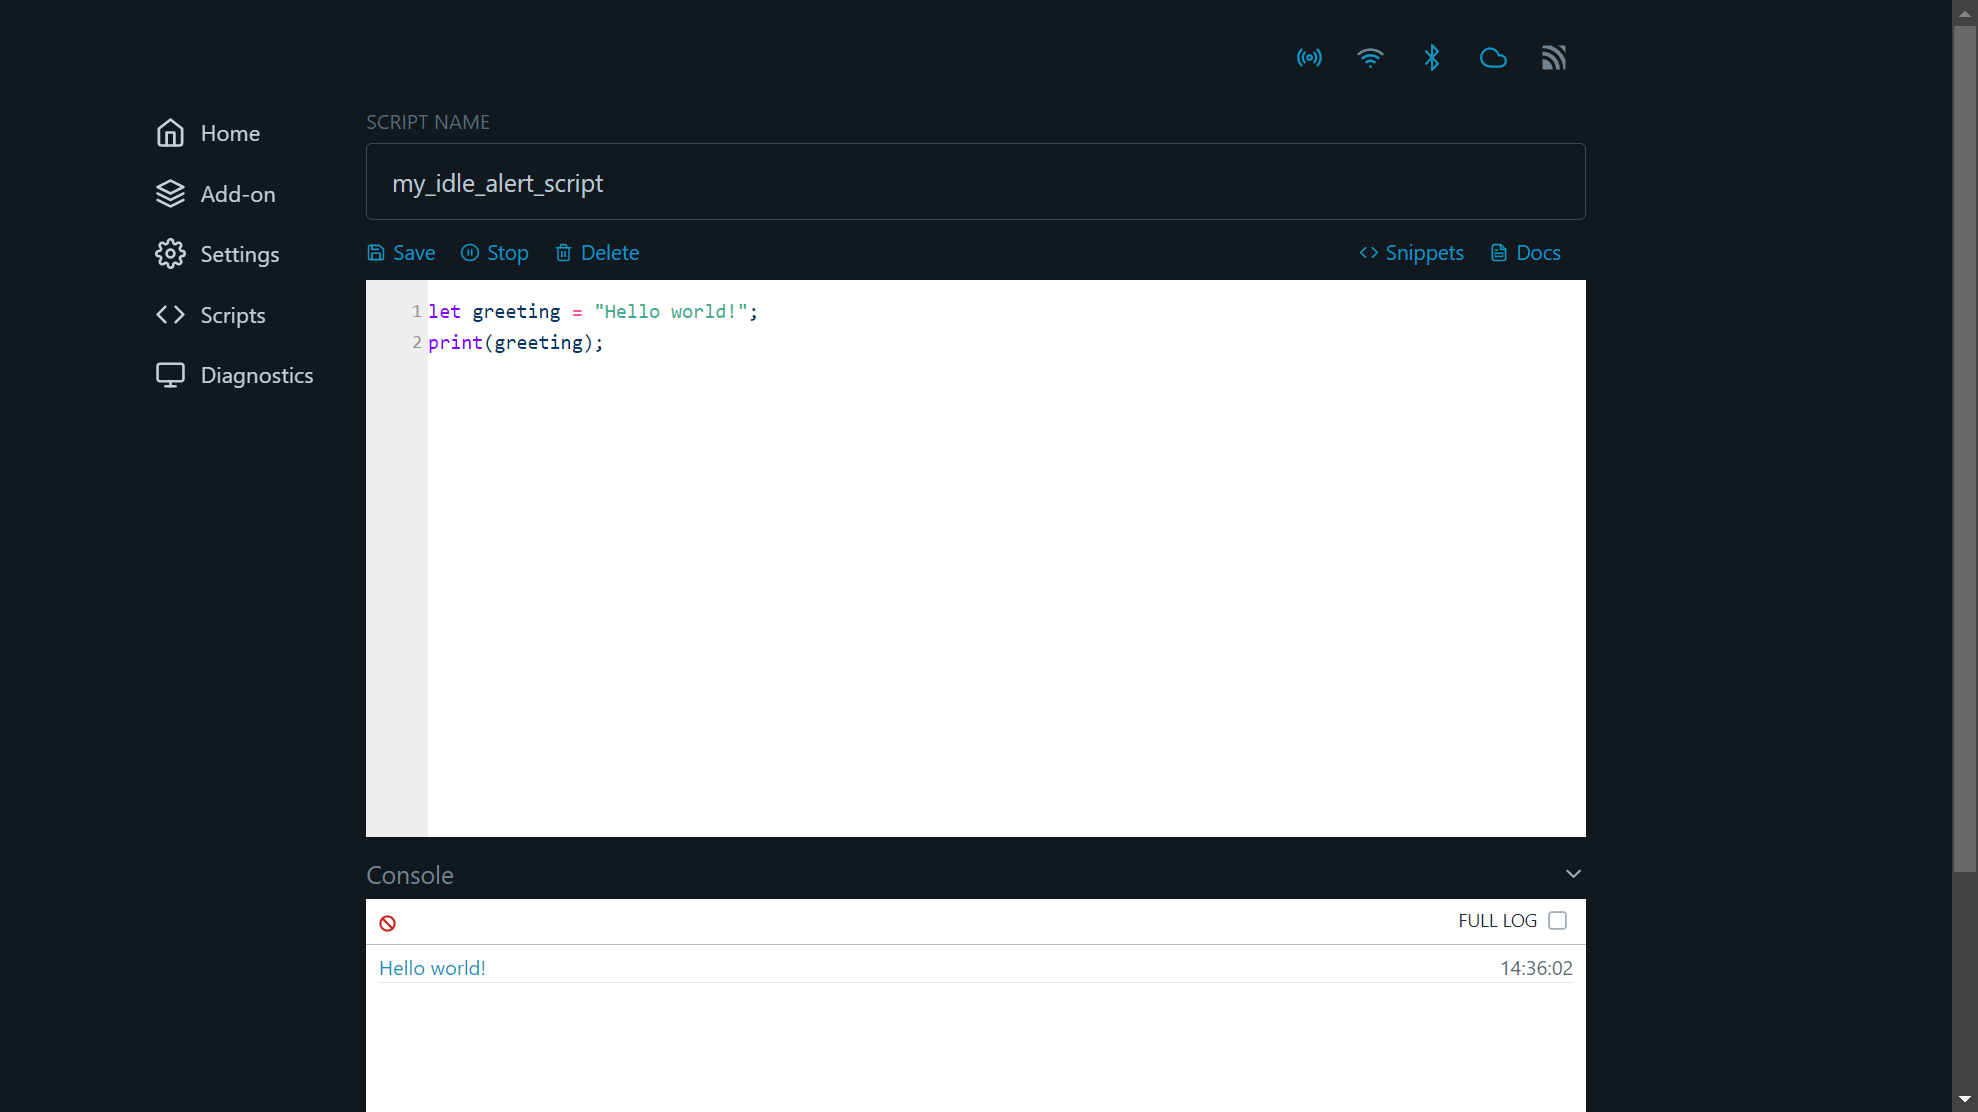
To do this, we can just click the Save and Run button from the web interface:

... or we can send the RPC request:
curl -X POST -d '{"id":1, "method":"Script.Start", "params":{"id":3}}'\
 http://${SHELLY}/rpc
This must print 'Hello world!' in the debug log. That is how it looks like in the web interface:
Step 5: Stop your script
Let's stop the script now. We can do this by using:

or:
curl -X POST -d '{"id":1, "method":"Script.Stop", "params":{"id":3}}'\
 http://${SHELLY}/rpc
Note that we cannot start this script again without stopping it first! This is needed especially when we update the script - if it is already in execution, it will continue to execute the old version of the code until it is stopped and then started again. We will need that in the next steps of the tutorial, where we will upgrade our code step by step.
Step 6: Create an object in a script
Now, we will start to create more sophisticated and useful scripts.
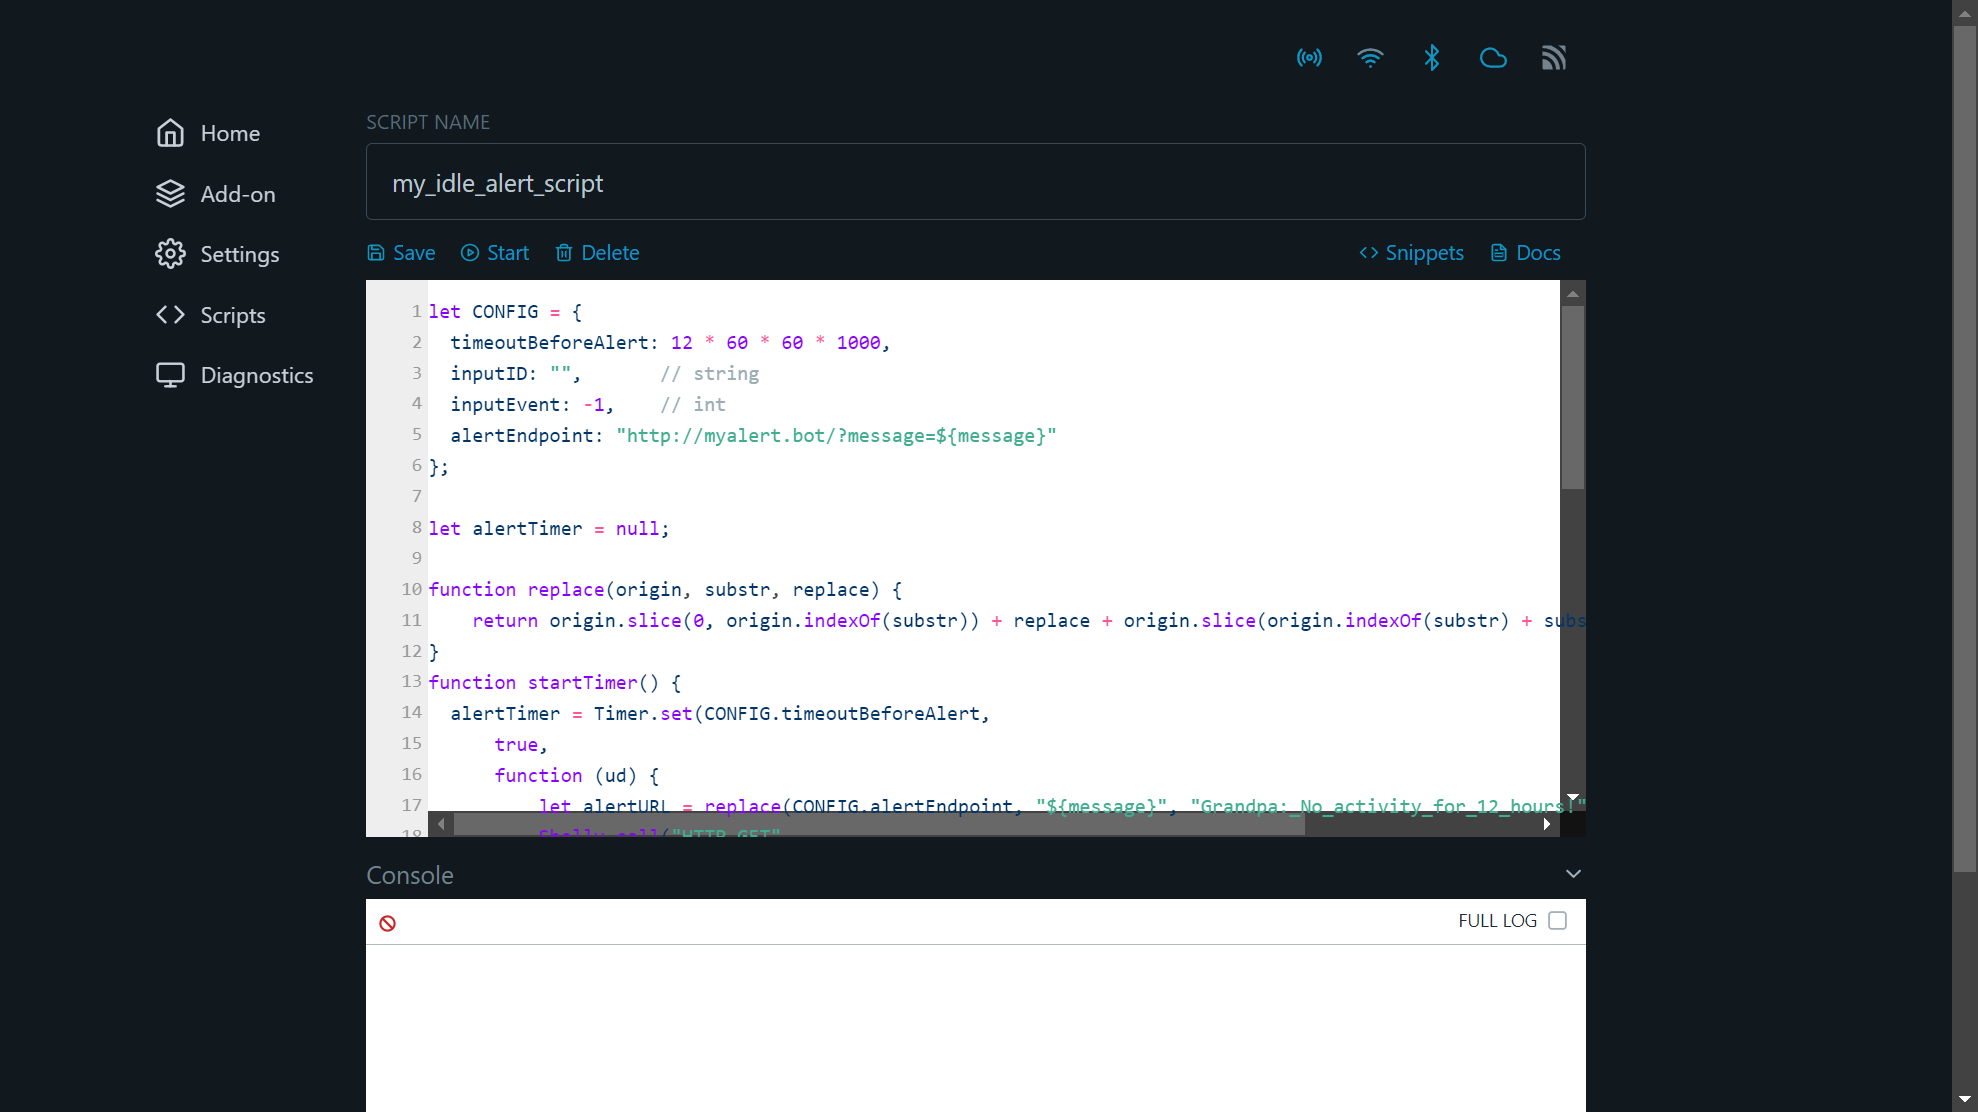
Firstly, let's create some variables: an object CONFIG and an alertTimer with value null:
let CONFIG = {
  timeoutBeforeAlert: 12 * 60 * 60 * 1000,
  inputID: "",       // string
  inputEvent: -1,    // int
  alertEndpoint: "http://myalert.bot/?message=${message}"
};

let alertTimer = null;
Create a new script object as described in Step 1, or just change the code of the previous Script object as described in step 3. The resulting script (let's say, again with id=3) can be run as before, but it won't print anything to the terminal.
Step 7: Create a function that replaces strings
Let's create a function called "replace". It will take three strings: origin, substr and replace, where substr is a substring of the origin. The function will replace substr with replace in origin.
function replace(origin, substr, replace) {
    return origin.slice(0, origin.indexOf(substr)) + replace + origin.slice(origin.indexOf(substr) + substr.length, origin.length)
}
Add the function to the code from the previous step and upload it. The resulting script (let's say, again with id=3) can be run as before, but we shouldn't forget to stop it first, in case it has been running when the code was updated. Again, nothing will be printed to the terminal. However, while the script is running, the function we just added can be easily evaluated by the RPC method:
curl -X POST -d '{"id":1, "method":"Script.Eval", "params":{"id":3, "code":"replace(\"The first generation of Shelly devices rule the world!\", \"first\", \"second\")"}}'\
 http://${SHELLY}/rpc
This must result in the string "The second generation of Shelly devices rule the world!".
Step 8: Create functions that start and stop a timer
We will set a timer that fires repeatedly at every 12 hours, sending an http get request. If the response code from this request is 200, a message will be printed to notify about the success. The values used here are the ones we created in step 5.
function startTimer() {
  alertTimer = Timer.set(CONFIG.timeoutBeforeAlert,
      true,
      function (ud) {
          let alertURL = replace(CONFIG.alertEndpoint, "${message}", "Grandpa:_No_activity_for_12_hours!");
          Shelly.call("HTTP.GET",
              { url: alertURL },
              function (res, error_code, error_msg, ud) {
                  if (res.code === 200) {
                      print("Successfully transmitted a message");
                  };
              },
              null);
      },
      null
  );
}

function stopTimer() {
  Timer.clear(alertTimer);
}
Again, append this code to the already added one.
Step 9: Add an event handler
Let's add an event handler which will restart the timer when any event occurs. You will be notified about each reset timer by a message "TIMER WAS RESET" printed in the logs.
Shelly.addEventHandler(
    function (event, ud) {
        // while we don't have better selectivity for event source
        if (typeof (event.info.state) !== 'undefined') {
            stopTimer();
            startTimer();
            print("TIMER WAS RESET");
        }
    },
    null
);
Append this code to the already created one. Finally, we have the whole script and you can upload it.
Now, stop the script (if it has been running when the code was updated) and then start it again as described in Step 4.
If you have followed the steps properly, you will be notified each time when there was no event occurred in the last 12 hours (it may indicate a problem at home, or just the fact that someone is on a vacation :) ).